Over the last few months, we’ve developed a need to image computers away from our SCCM Imaging Server so I’ve tasked myself with coming up with a solution. So far there are two, one is Ventoy and the second a “iodd” drive. Both have their advantages and disadvantages.
After overcoming challenges with both systems Ventoy has come out ahead.
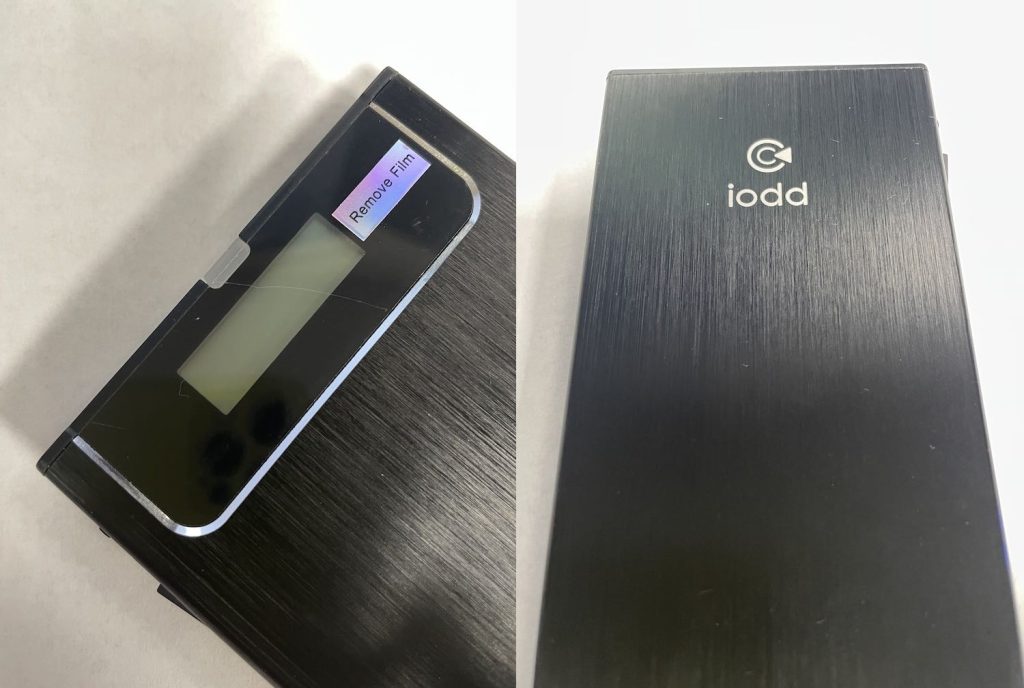
This is the Iodd2531 USB3.0 HDD SSD Virtual CD-ROM Enclosures – Made in Korea purchased from Amazon ($85.00). Basically it is a portable hard drive case with a little computer built in. It comes in two firmware versions exFAT and NTFS, both should work equally well and shouldn’t affect results. The instructions are a bit of a challenges due to language barrier. I installed a 1tb SSD, formatted as NTFS as per my firmware, created a “_iso” folder and placed some ISO’s in the folder. Making sure your computer has Secure Boot disabled in bios, you select the iso you wanna boot from using the selection switch/button on the side. Boot computer using F12, select the drive, and wait.
Ventoy, works pretty much the same way, but easier.
We installed 500 gb SATA SSD drives, in POSUGEAR 2.5” Clear External Hard Drive Case ($6) just for uniqueness.
Then you download, install and run Ventoy. It’ll setup your select drive for use. You then add a folder called “_iso” and copy your iso’s to the folder. As with Iodd drive, you have to disable Secure Boot in the bios. Again, just boot using F12, select your drive. The system will boot and display a list of bootable iso, for your selection.
The hardest part was figuring how how and when to partition and format the iso data drives, and how to disable Secure Boot.