Having used laser engravers, or laser tools in the past, I wanted to get back into it. Having blown my laser tube in my old Chinese laser engraver (40 watt), and finding it cost almost as much as a new laser cutter for a new tube I held off buying a replacement. Found the M1 on ebay as a refurb, for almost half off, I jumped at it. Then spent $$ for the add-ons. Even with 10 watts, and easy to use software, it if very useful.
The Chinese engraver, required a thumb drive with their software to operate, and it was poorly translated to english. At least parts of it, a great deal of the software was still only in Chinese. It was usable, with a fight. Plus it required cool water to keep the tube cool. My mistake was forgetting about checking the water before use, after a nights freeze. So ice in tube, not good.
The xTool Creative Software, has its limits, not as much control as I was used to, but more than enough to get the job done. I am hoping they add features. OH and the software is Free, no thumb drive key.
The built in camera is a huge plus, I mean HUGE. Makes alignment and reusing scrapes much easier.
Looking into upgrading it to a higher power laser, which would cut down on the number of times I have to cut over the same time. Translation, faster printing.
Haven’t use the rotary, or the air assist. But I’ll get there.
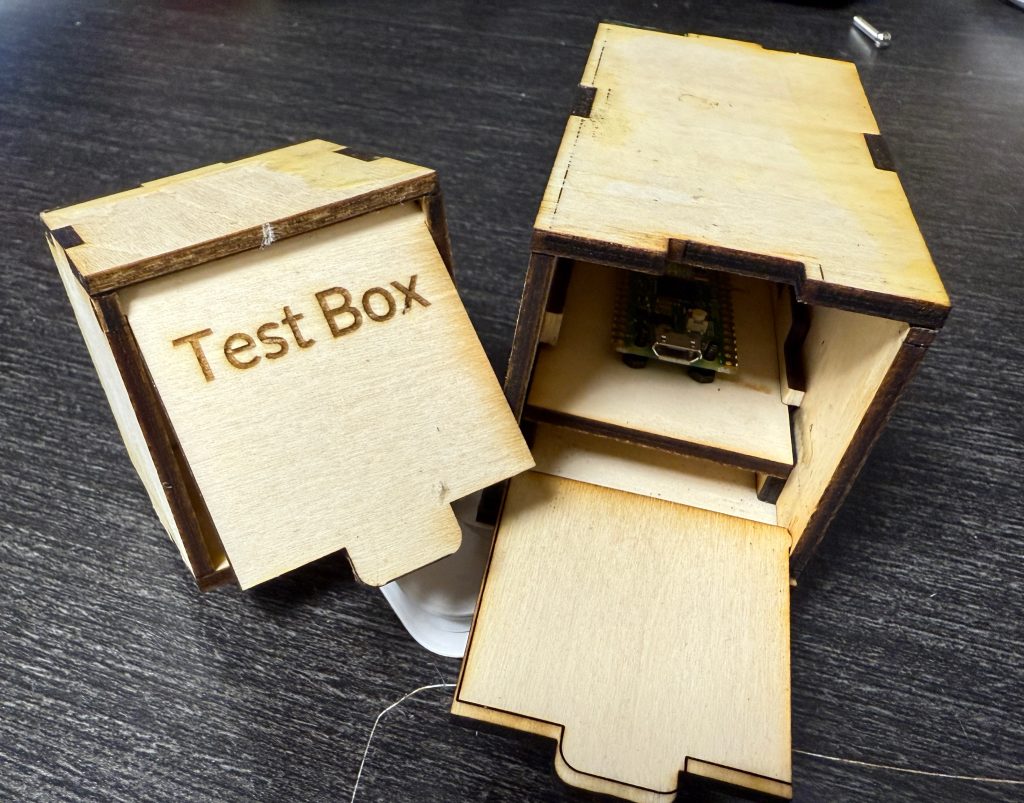
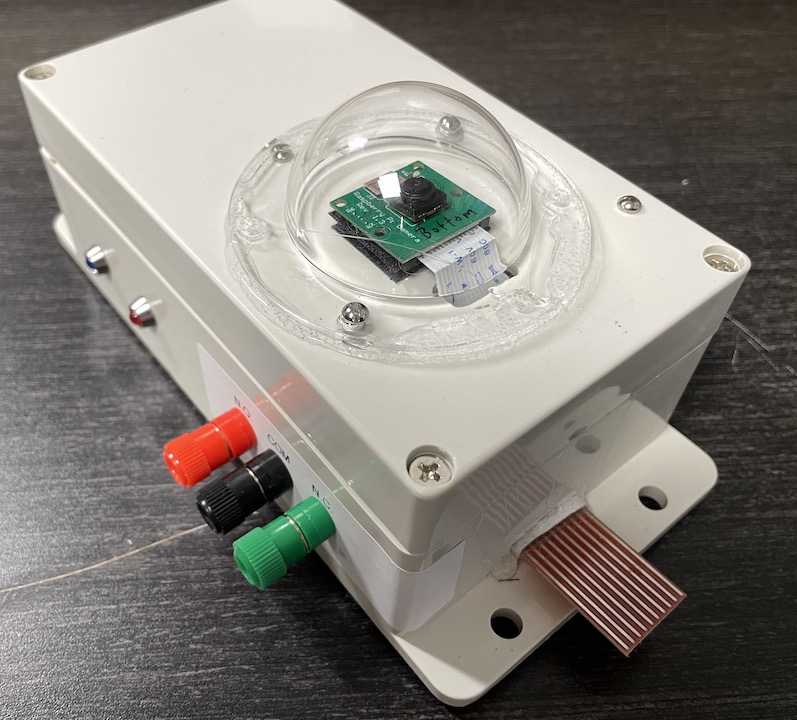
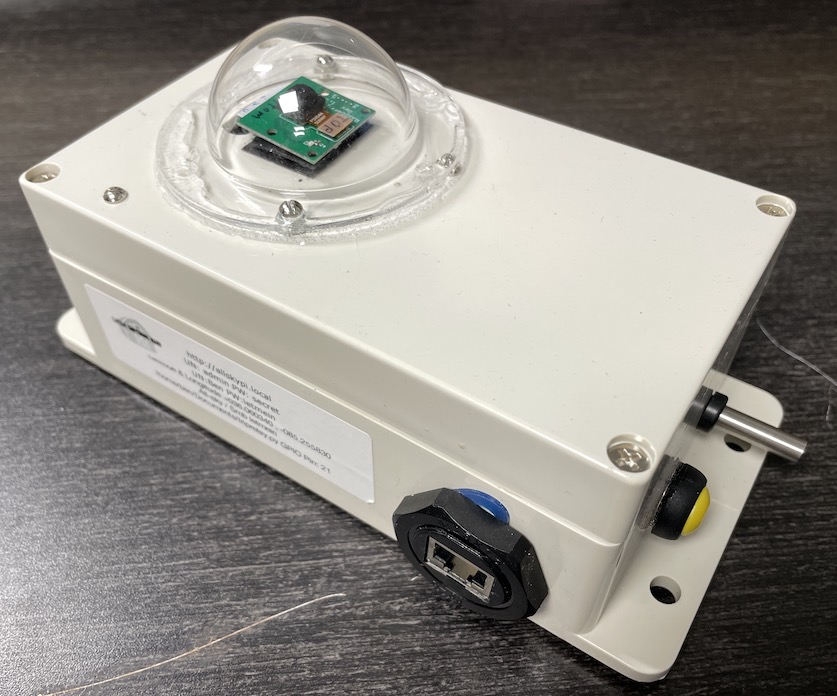
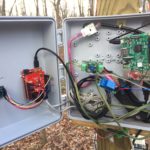
Right now I am making project boxes for Raspberry Pi Pico projects, very handy tool for that.
UPDATE: One difference I’ve noticed between 3d printing and laser engraving. 3d printing produces less waste. Yes there is poop, with 3d printing. But with laser cutting, you end if with piles of scrap sheets of wood. Both have their places can’t wait till mixed media printing becomes a thing.
So far mixed media printing in 3d allows you to add fabric layers, magnets or nuts while printing. Would love to see mixed wood cuttings with plastic inserts, etc..

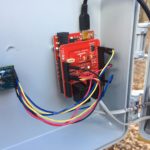
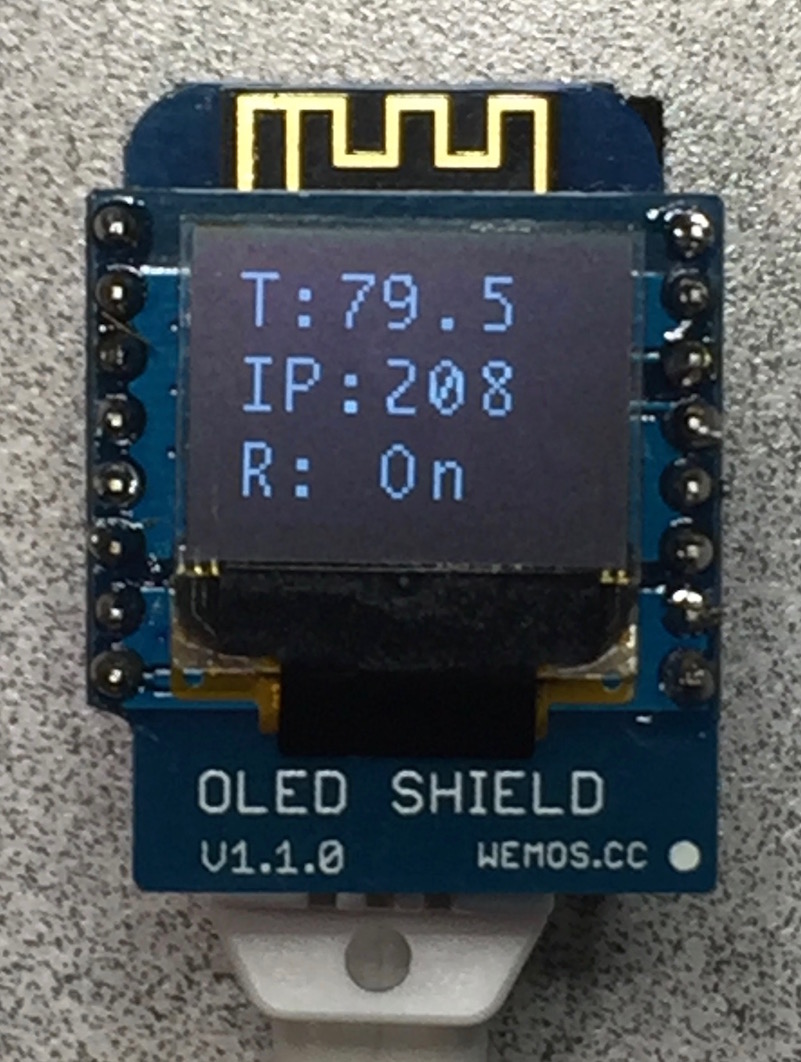
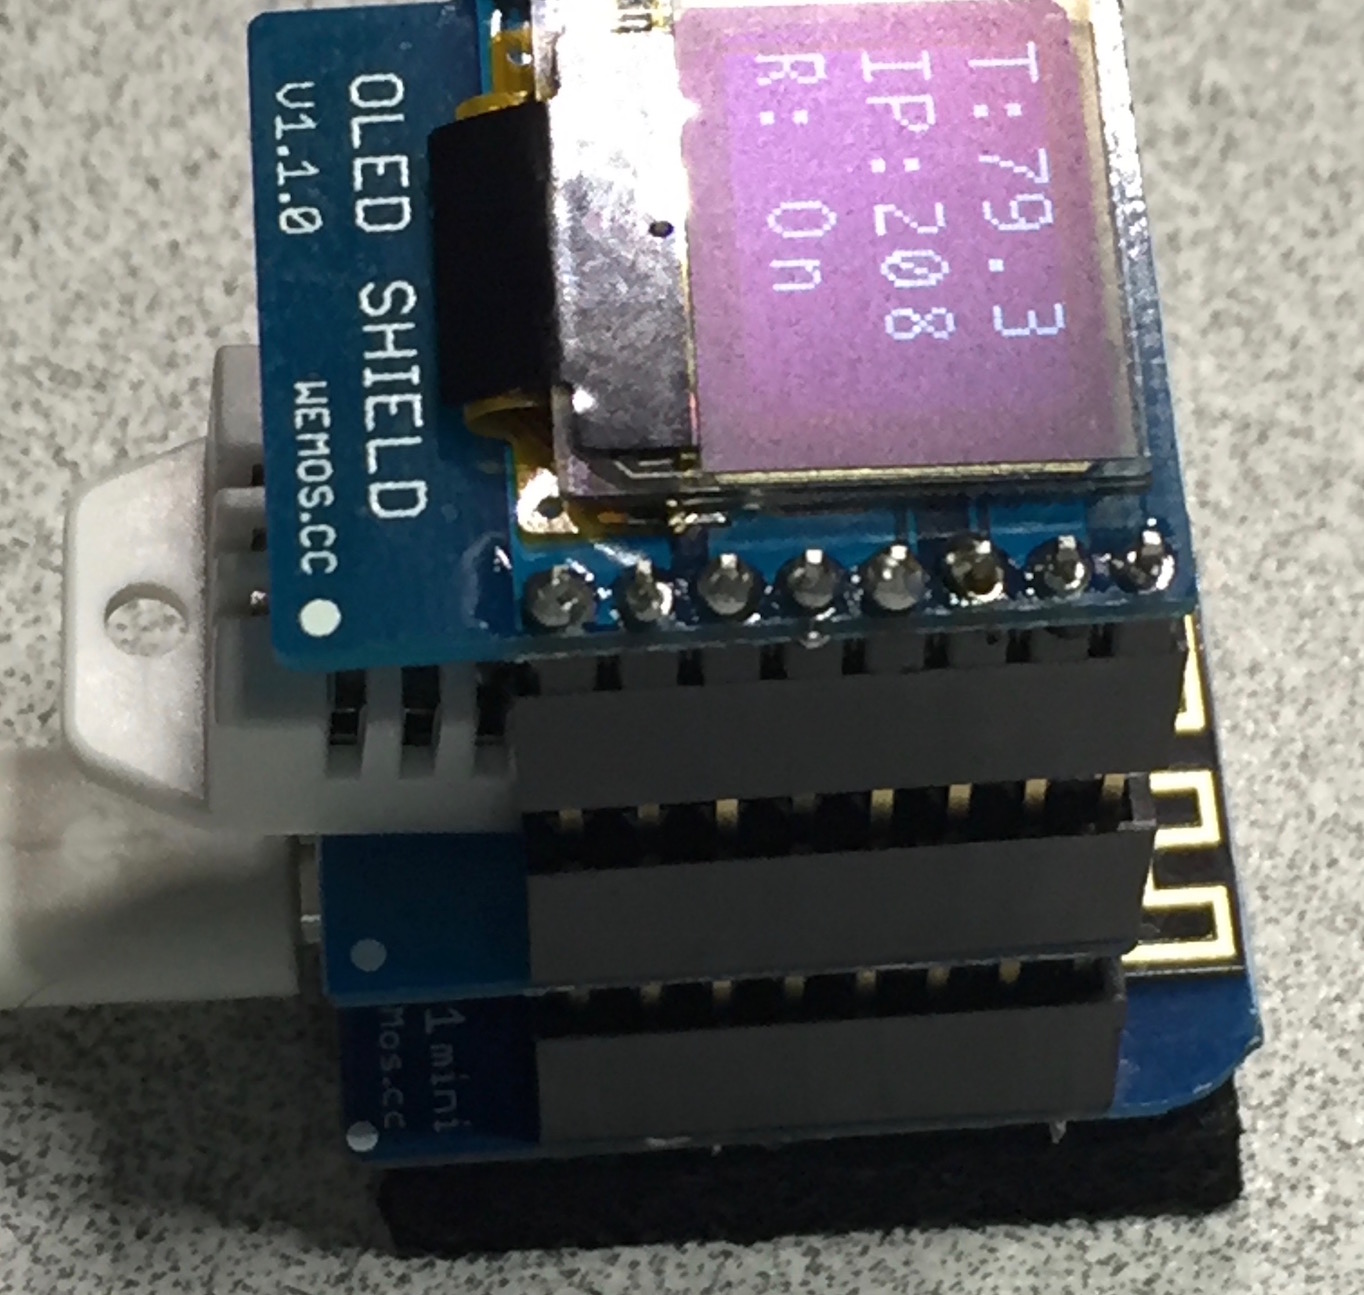 The biggest issue was getting the OLED display to work. Seems there was an issue with one of the libraries;