Wanting to get my feet wet with HomeKit I started looking into newer home automation equipment. Finding Quirky items cheaper on eBay I decided to give them a try.
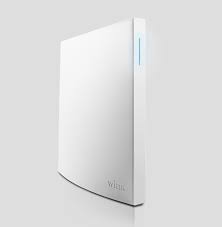
First, gotta open one. This is a Quirky Plink-Hub1, a second generation less hackable version of their Hub.

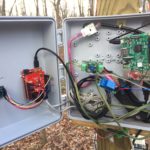
I was able to pry open and stick paper clips in to keep the case open long enough to remove guts.
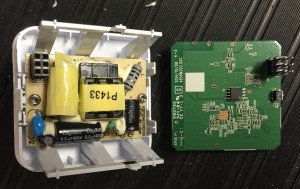
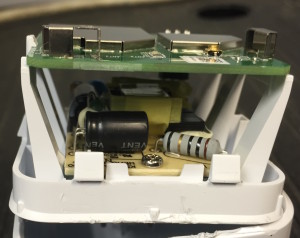
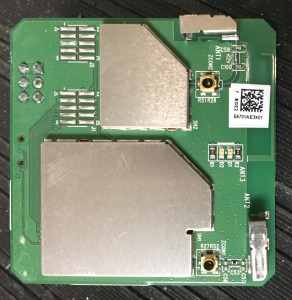
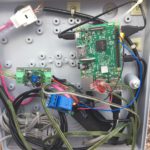
This is what it looked like inside. Very clean, power supply on one board, wifi and wireless on second.
The big down side is that the Quirky Wink automation system is made to be controlled by a phone, not a computer. At least not in Yosemite.
We were able to create some applescripts which react to emails sent from the Wink Robots. From there I was able to update a web page. So all and all not all that bad. Yes far from what I wanted, but for the cost I can’t complain.
We also installed a few GE LED lights, which are very limited in usage. Limited by the software. So hopefully HomeKit allows more features at a later date. (also get these really cheap off eBay).
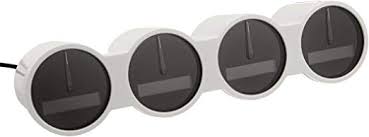
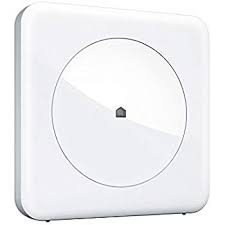
There is a Pivot Power Genius, power strip (with two controllable outlets [not very functional/features]) , Spotter (multi-sensor unit [VERY FUN and useful]), Porkfolio (Piggy Bank, [which we never got to work after many hours of work]) and of course the GE LED bulbs.
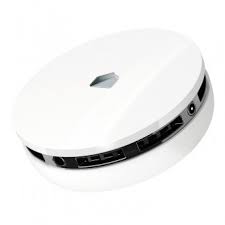
There is also Nimbus, a desktop digital display. Very easy to setup, but very limited on what can be displayed. If you can find it cheap it is fun, but not worth the $50 asking price (think we paid less than $20). Would like more control over what can be display, say something we send it.
The system also works very well with DropCams. We normally use Network cameras, but wanted to give it a try. We purchased a few DropCam HD units, which we are very happy with. On doing more research the PRO costs almost $100 more, and requires a yearly subscription. We will stick with the HD.
We are awaiting a Insteon Hub and automation kit to try as well.
UPDATE (07/18/2015 #1):
After using Wink and its assorted hardware for over a month, I can not recommend this system.
Wrote tech support for help hooking up Porkfolilo, problems with getting second Nimbus working and issues with second Spotter. All I got back was a canned reply, that wasn’t helpful at all. – Will a second hub help, does Wink support Second hub, does it increase coverage area? (they didn’t bother to address any of that).
The hub has ‘disconnect’ and I can no longer communicate with lights, nimbus or anything else that was working. And I am unable to add new devices. Wink must have built in limit… Or it could be interference or wifi noise, whatever, the system isn’t working.
I’ll continue to play with the system as time allows and see if I can get something working.
Update (07/18/2015 #2):
Played with Quarky, Wink a little today. Notice my hub was off-line.. Reinstall/configured, yeah. Then! WHAT? None of my devices are listed, no lights, Numbis, Spotters or Pivots, all gone. Meaning they all have to be reconfigured. So if you were thinking of using this system in a vacation home, DO NOT DO IT�!

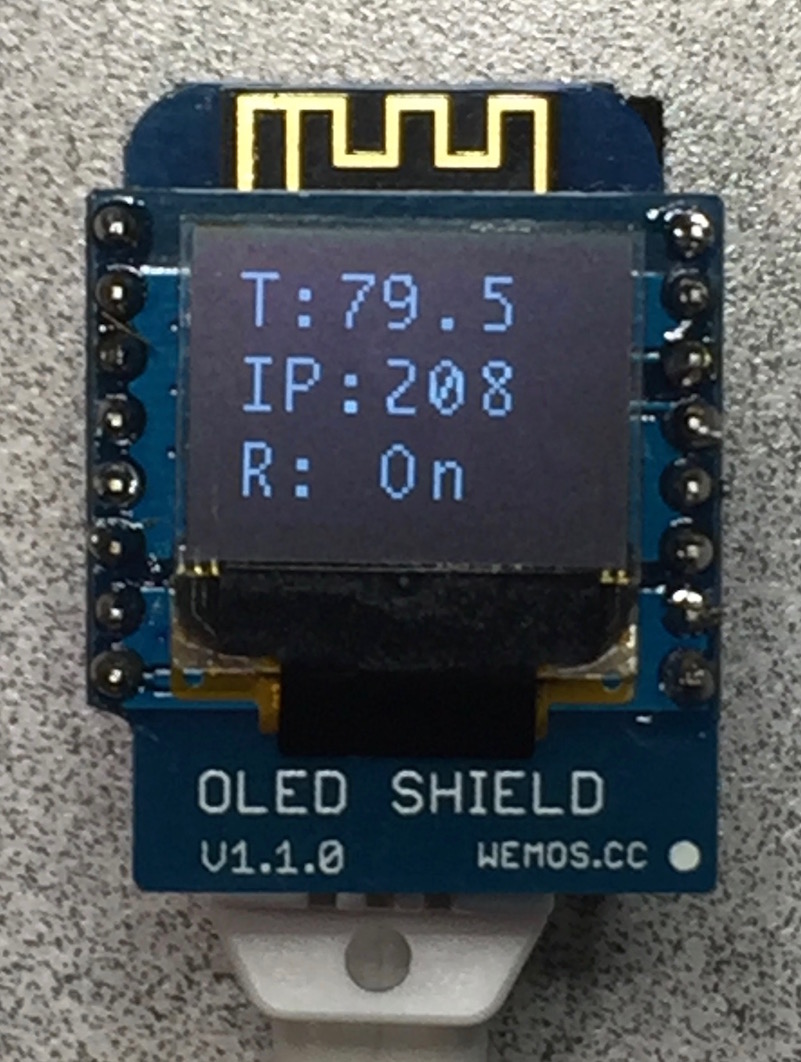
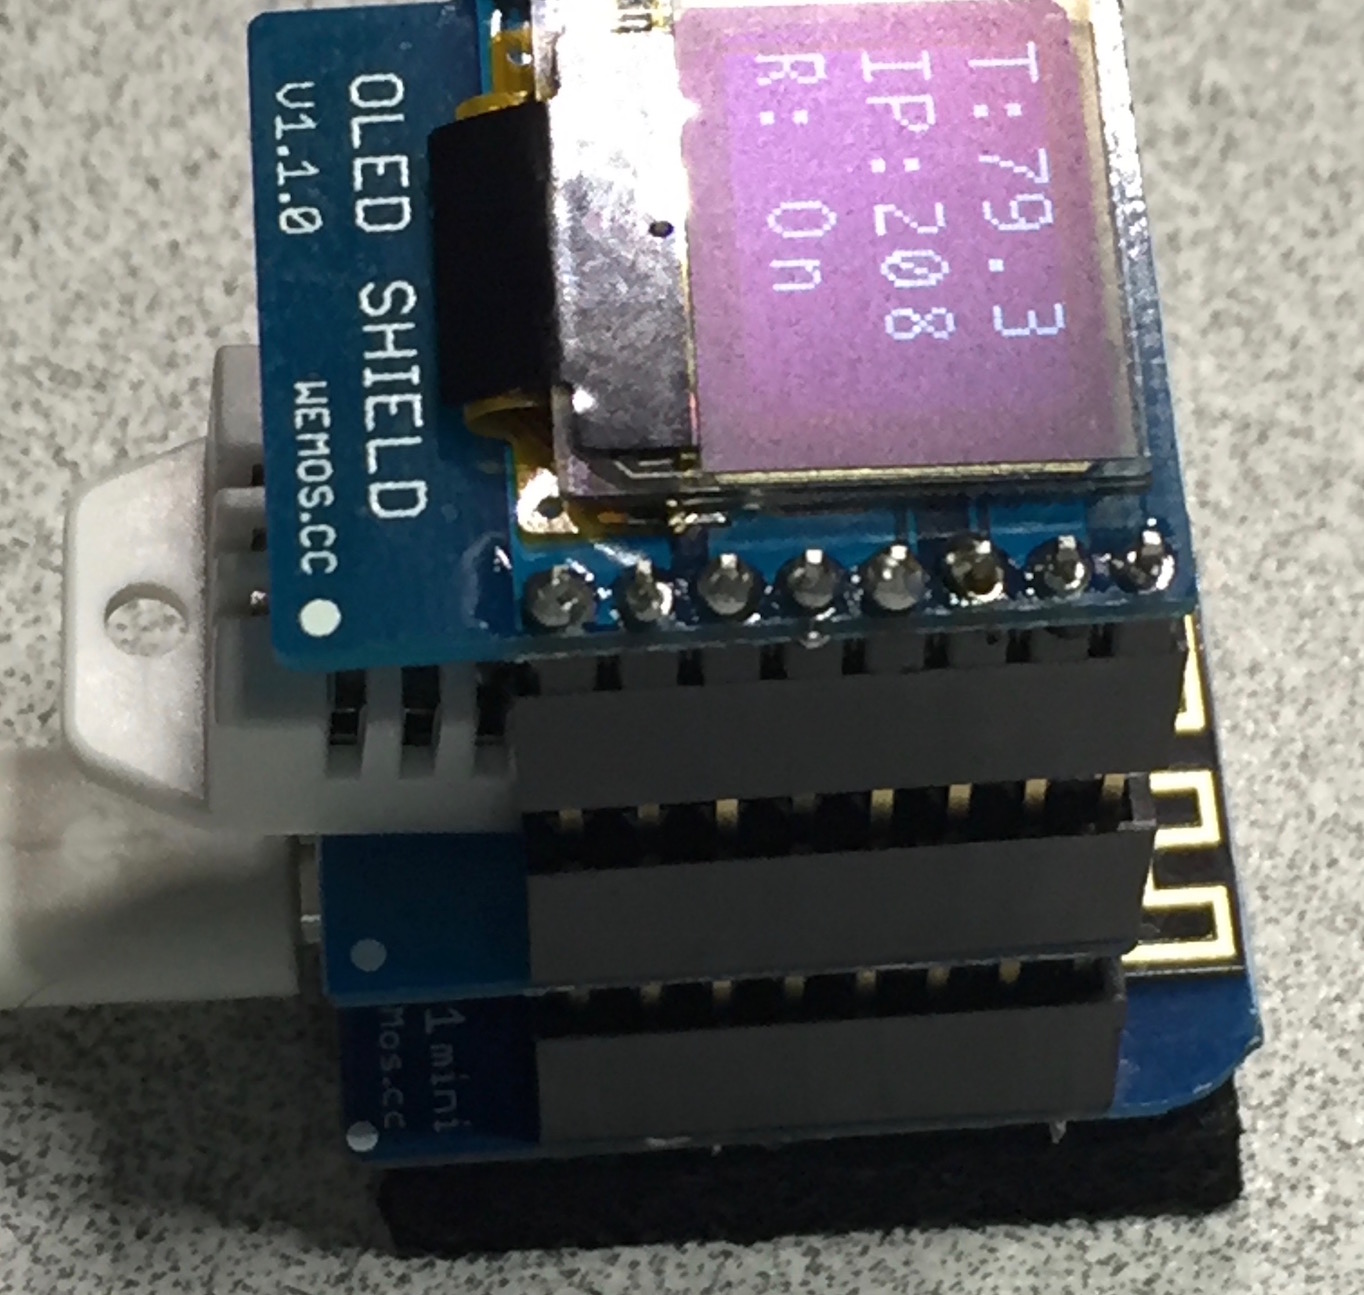 The biggest issue was getting the OLED display to work. Seems there was an issue with one of the libraries;