[:en]After 33 years working for the same company in MIami, my wife and I decided it was time for a change. Giving up the city life and moving full time to our vacation home in the hills of Tennessee.
Moving from a metro area where static ip numbers were easy and cheap to come by to an area where they are almost nonexistant. The ISP here has a odd configuration, making it difficult if not impossible to put a server online. For years I’ve used no-ip.org DSN to access remote cameras, odd thing was you couldn’t access them locally with using a totally different setup. It worked, but now that we are here full time, I am unwilling to jump through all the hoops. A solution must be found.
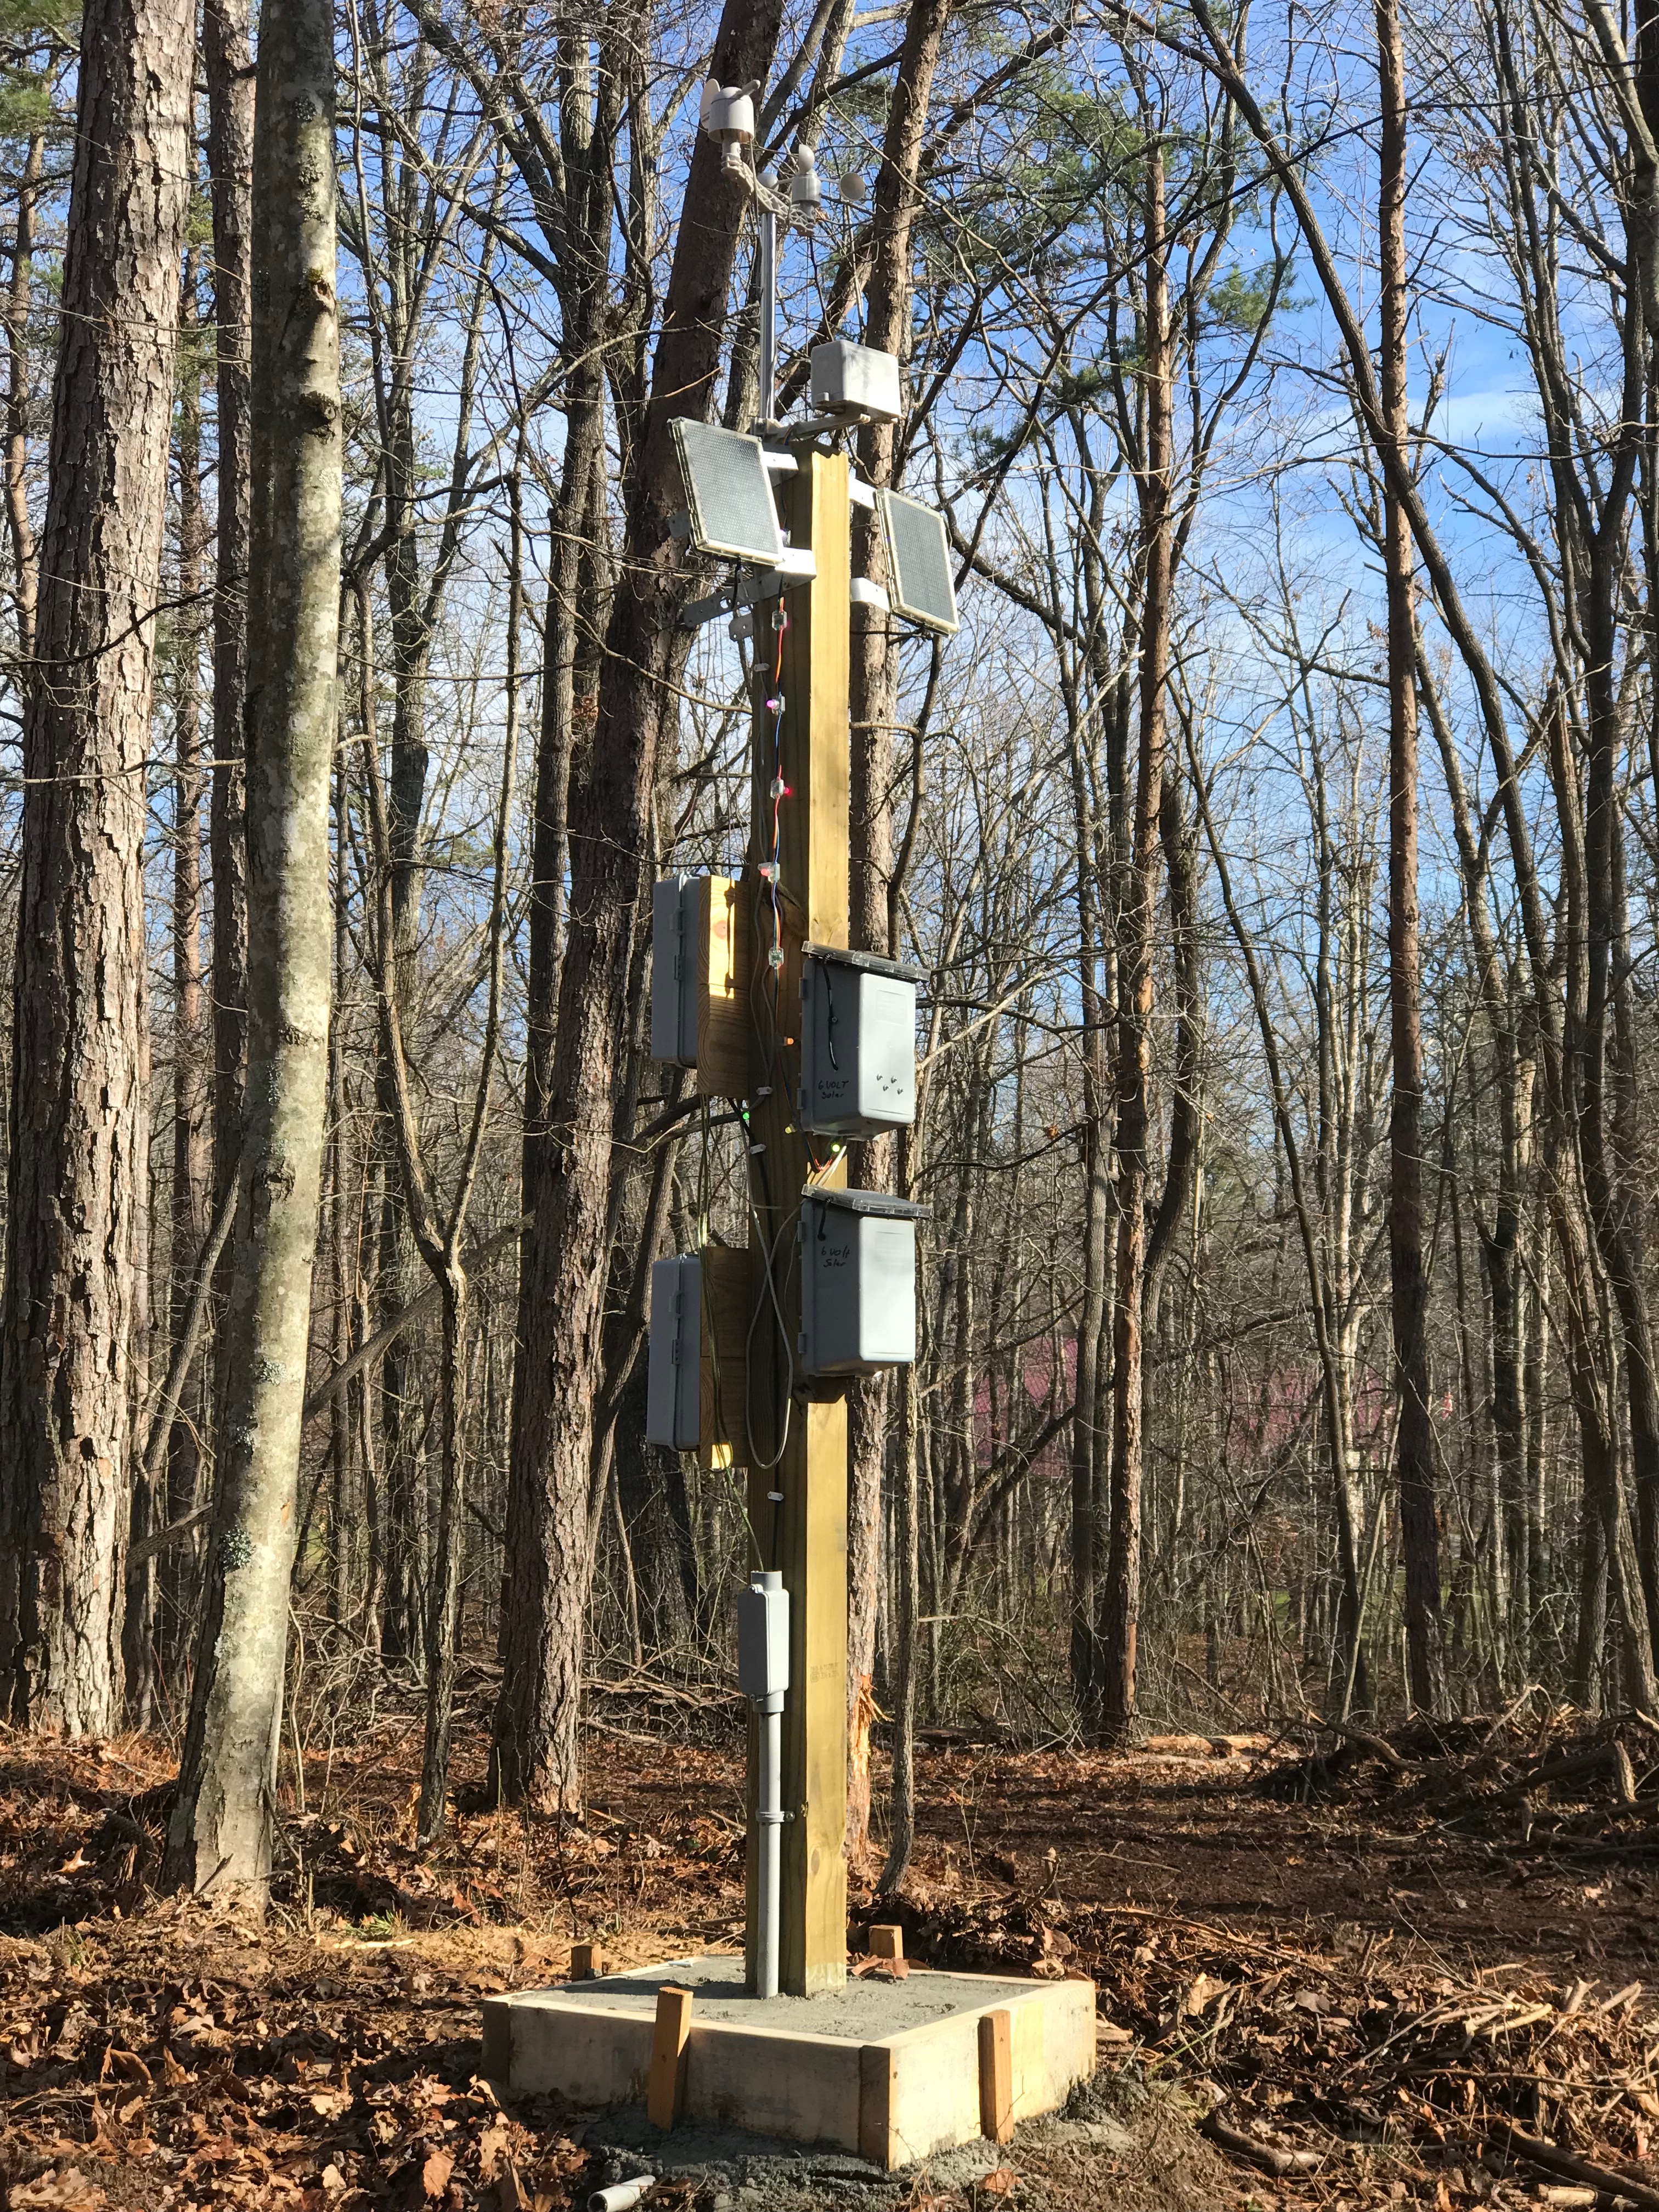
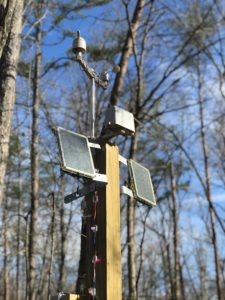
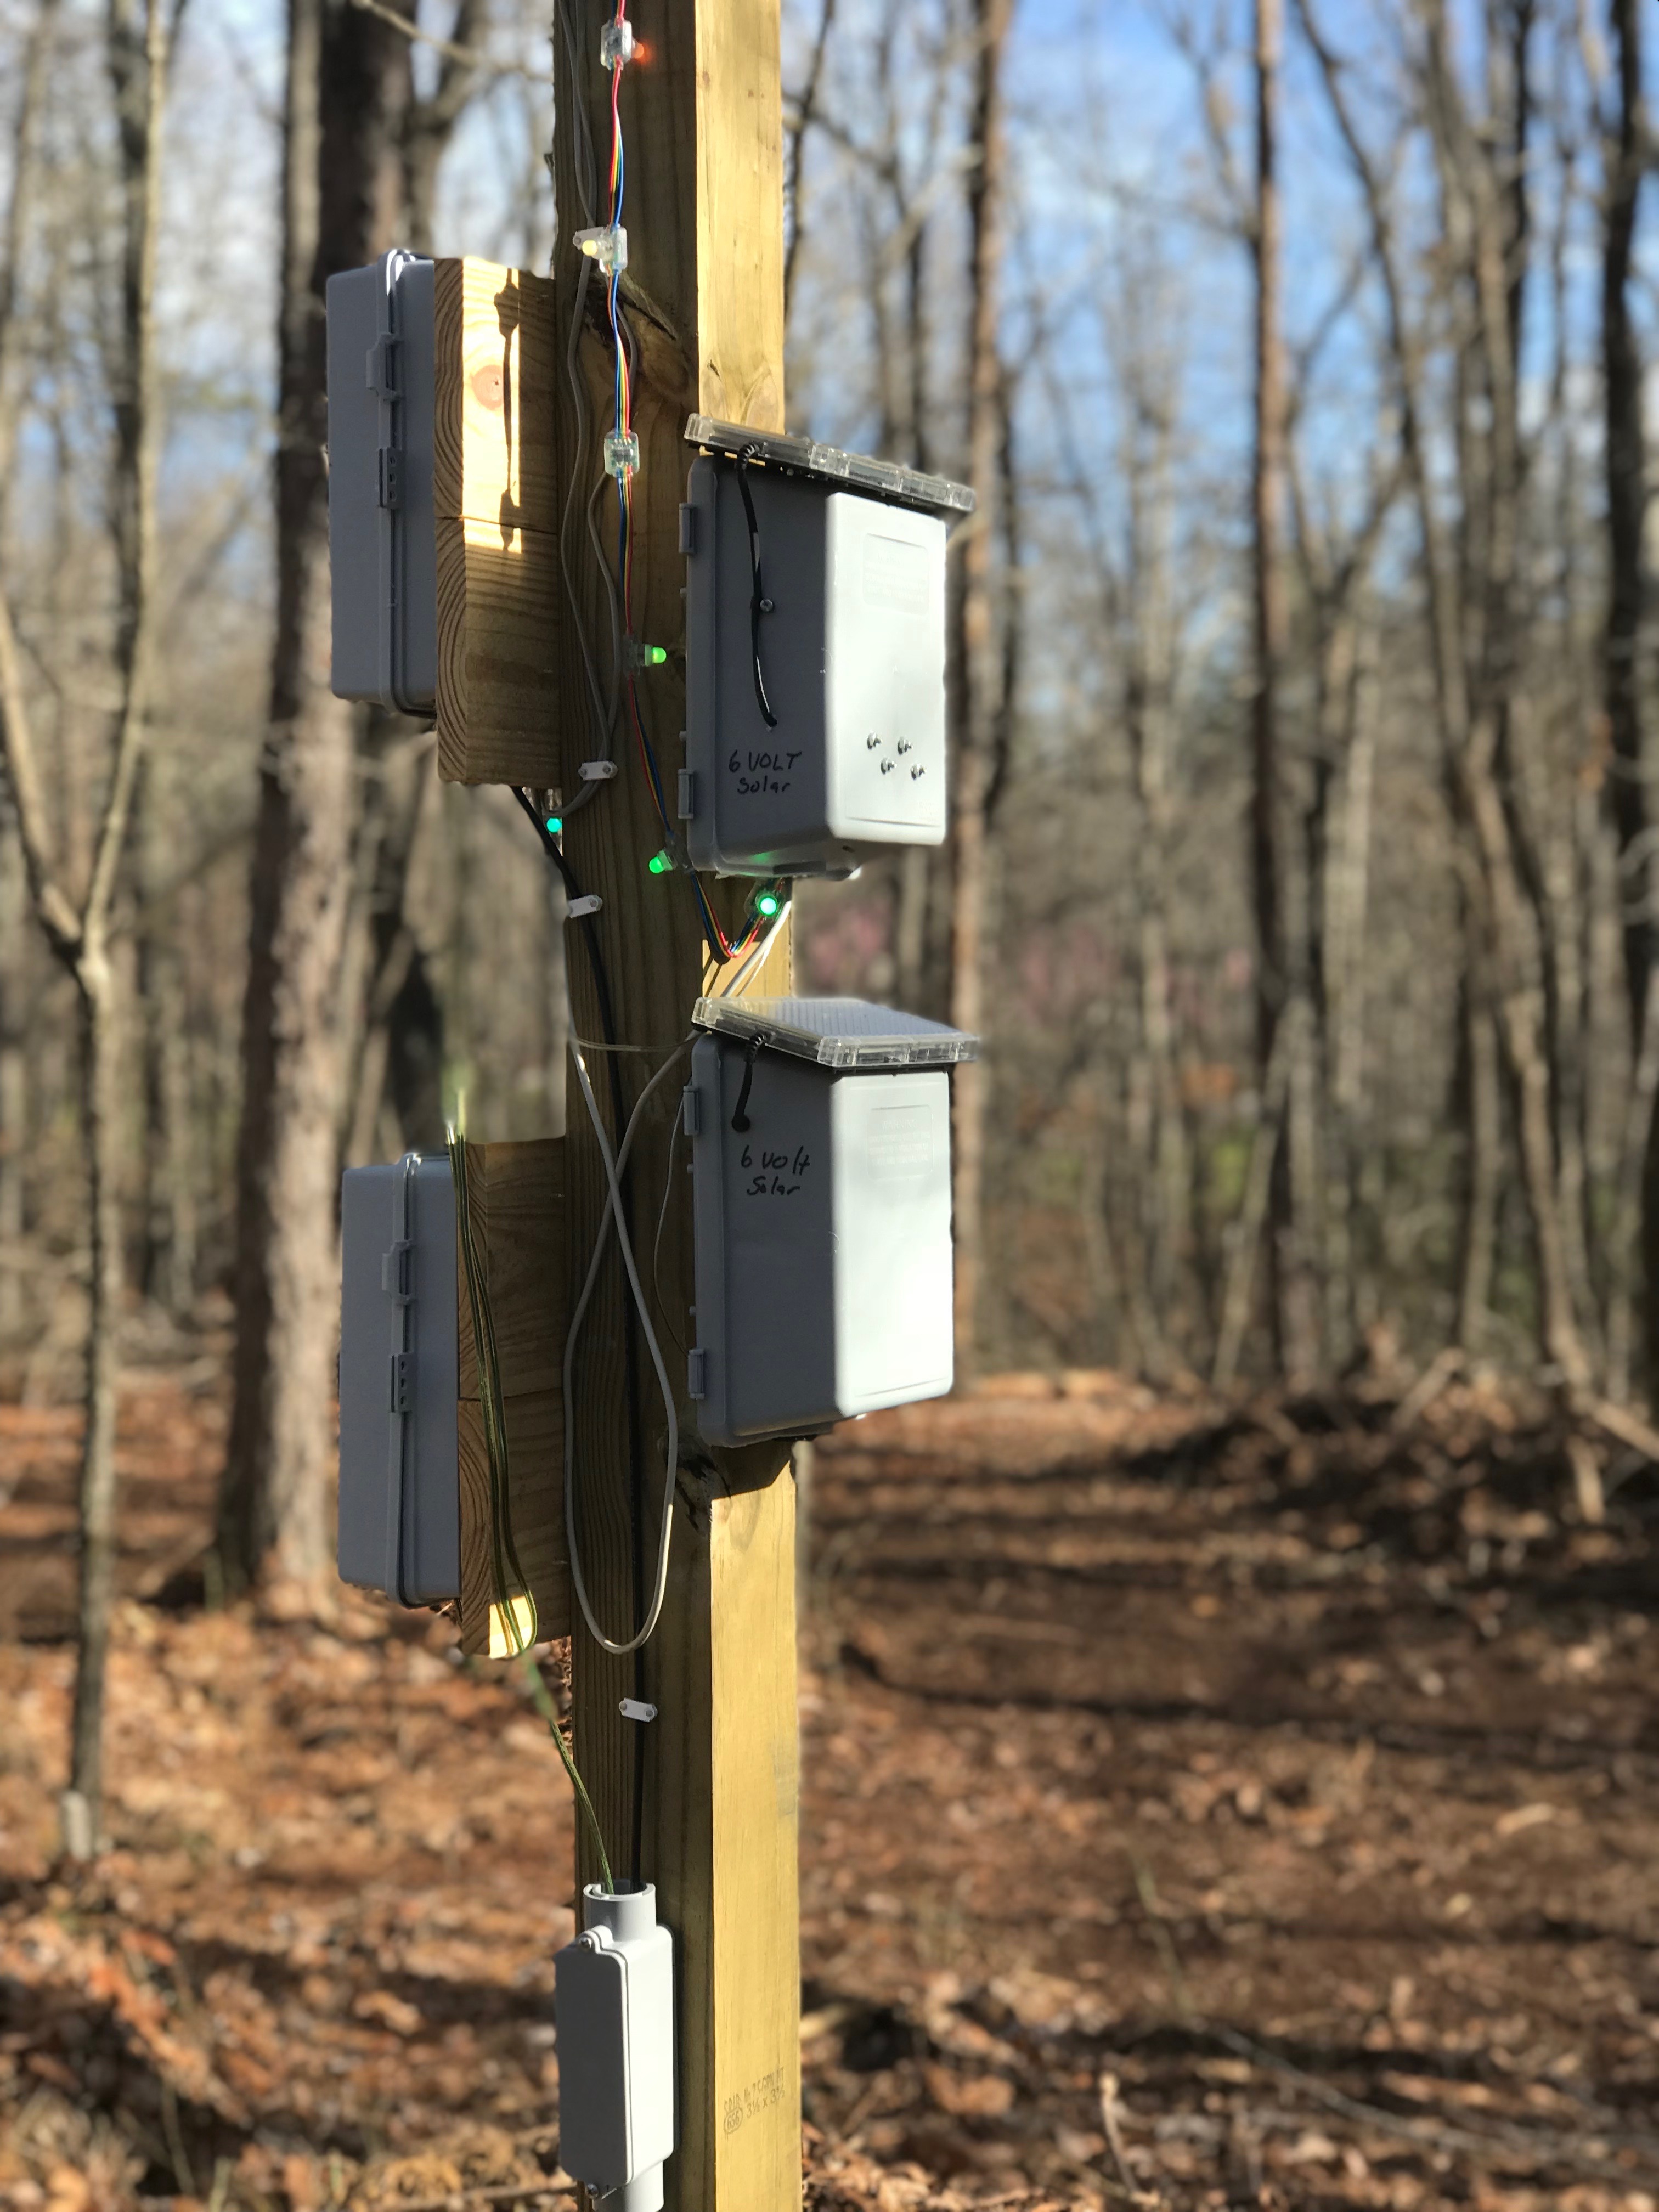
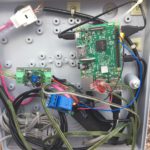
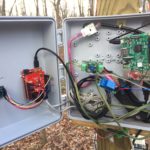
So far I can get all my network hardware, switches, RAIDS, servers, everything to work fine locally. But I need to find a way to access the network from the outside, using an ever changing IP number.
How do I set my domain/web site dns records? Tried using the domain name I use with no-ip, but GoDaddy requires a ip number.
The local isp will provide a ip number to business class customers for $99 a month. Supposedly with faster speeds!
Will continue to try new ideas, and keep the world informed of the results.
Well, it has been over two weeks. With almost nightly internet ‘outages’, where connection to internet is lost requiring a hard restart of the modem. Guess it could be modem, but still haven’t found a way to get servers on line. SO, as a last resort I’ve decided to get a Business line, same lame 6m down and 1m upload speed, but it comes with a static IP number and I can buy more in blocks of 5 at $20 a month. Not bad. HOWEVER.. After calling last night to confirm a morning visit between 9am and 12 noon. No one ever arrived. And at about 1pm, it start pouring. So, it is unlikely anyone will come to day to finish the upgrade to Business as scheduled. Perhaps tomorrow! – Modem died again last night.
Oh, and upgrading to Business Class is only $60 a month, not the $99 I originally reported. Lets see if it really works out to that amount when we receive the first/second bill..
Things are finally working as they should, but it wasn’t easy.
First the “normal” routers provided by my ISP did’t route network traffic correctly. All my computers could get to internet, but they couldn’t see my local web server, but people out of state COULD.
I attempted to setup a local DNS server, it didn’t help. I toyed with local and wan IP numbers. This would REVERSE the issue, I could see the server, but people outside couldn’t.
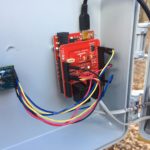
Finally, I got a support guy that understood his job. He provided me with a ‘non-standard’ modem. We were able to setup my account to log in and get correct settings, my 1 IP was really at least 3, each having its own purpose. I had to move my server to a computer with 2 nic ports, and assign one with an external and one with an internal IP. I figured this would cause a LOOP since they both plugged into the router, it did not. However I did move the internal NIC port to my managed switch, and left the external port directly plugged into router.
I am not 100% sure of my total MONTHLY cost yet. But both my upload and download speeds are faster. The servers and network devices can all be managed as expected now, and the modem doesn’t require nightly reboots. – Oh, this only took over 2 months!
After a few months with the new Business Class account we are happy with results overall. When we do have issues we call, we get service the next day. For almost two weeks we had daily slow downs to less than 2 mbs (ouch). We would contact support (though online chat) and get support on the spot. After two ‘calls’ we received a visit from a tech, who did something down the road that seemed to improve our service. No where near our ‘city speeds’ but good enough.
Now to enjoy country living![:de]After 33 years working for the same company in MIami, my wife and I decided it was time for a change. Giving up the city life and moving full time to our vacation home in the hills of Tennessee.
Moving from a metro area where static ip numbers were easy and cheap to come by to an area where they are almost nonexistant. The ISP here has a odd configuration, making it difficult if not impossible to put a server online. For years I’ve used no-ip.org DSN to access remote cameras, odd thing was you couldn’t access them locally with using a totally different setup. It worked, but now that we are here full time, I am unwilling to jump through all the hoops. A solution must be found.
So far I can get all my network hardware, switches, RAIDS, servers, everything to work fine locally. But I need to find a way to access the network from the outside, using an ever changing IP number.
How do I set my domain/web site dns records? Tried using the domain name I use with no-ip, but GoDaddy requires a ip number.
The local isp will provide a ip number to business class customers for $99 a month. Supposedly with faster speeds!
Will continue to try new ideas, and keep the world informed of the results.[:]