[:en]Keyboard Tester[:de]Keyboa[:]

[:en]Nice perk of my current job is that we are allowed to spend time creating time saving programs. Within reason!

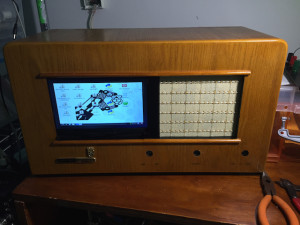
After getting an unusual number of reports of broken keyboards we decided we needed a quick easy way to test keyboards. Using mostly Apple iMacs, that is what we wrote the program for. BUT it works pretty good on windows as well (numerical keypad has issues though, but useable).

Spent less than a day creating the DIY Keyboard Tester using LiveCode.

Keyboard Tester Mac: diykeyboardtestermac

Keyboard Tester Windows: diykeyboardtesterwin-exe

 [:]

WeMos D1 Mini

Being that they were ordered from China, I ordered a few items from WeMos. OLED Display Shield, Temperature Sensor, Relay and Button shields. All were cheap and using Arduino fairly easy to program just took awhile to get to USA (say a month to the day) [Not complaining, just stating, pay a little more get from USA seller MUCH faster].

IMG_8734

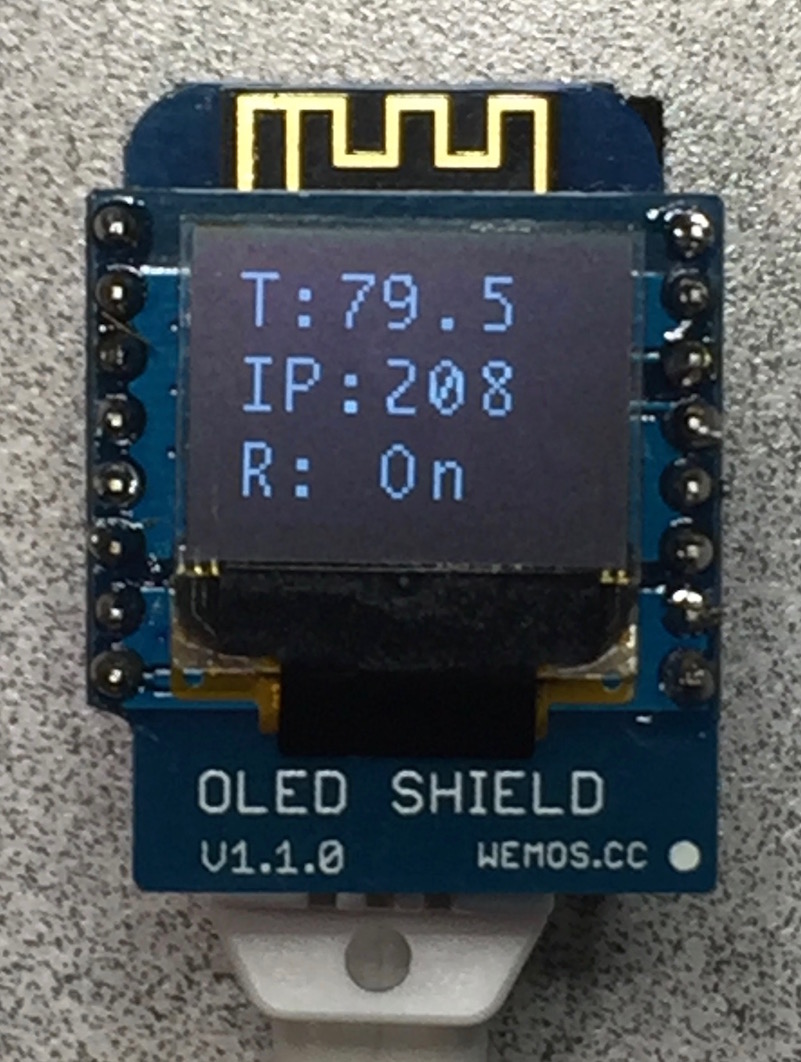
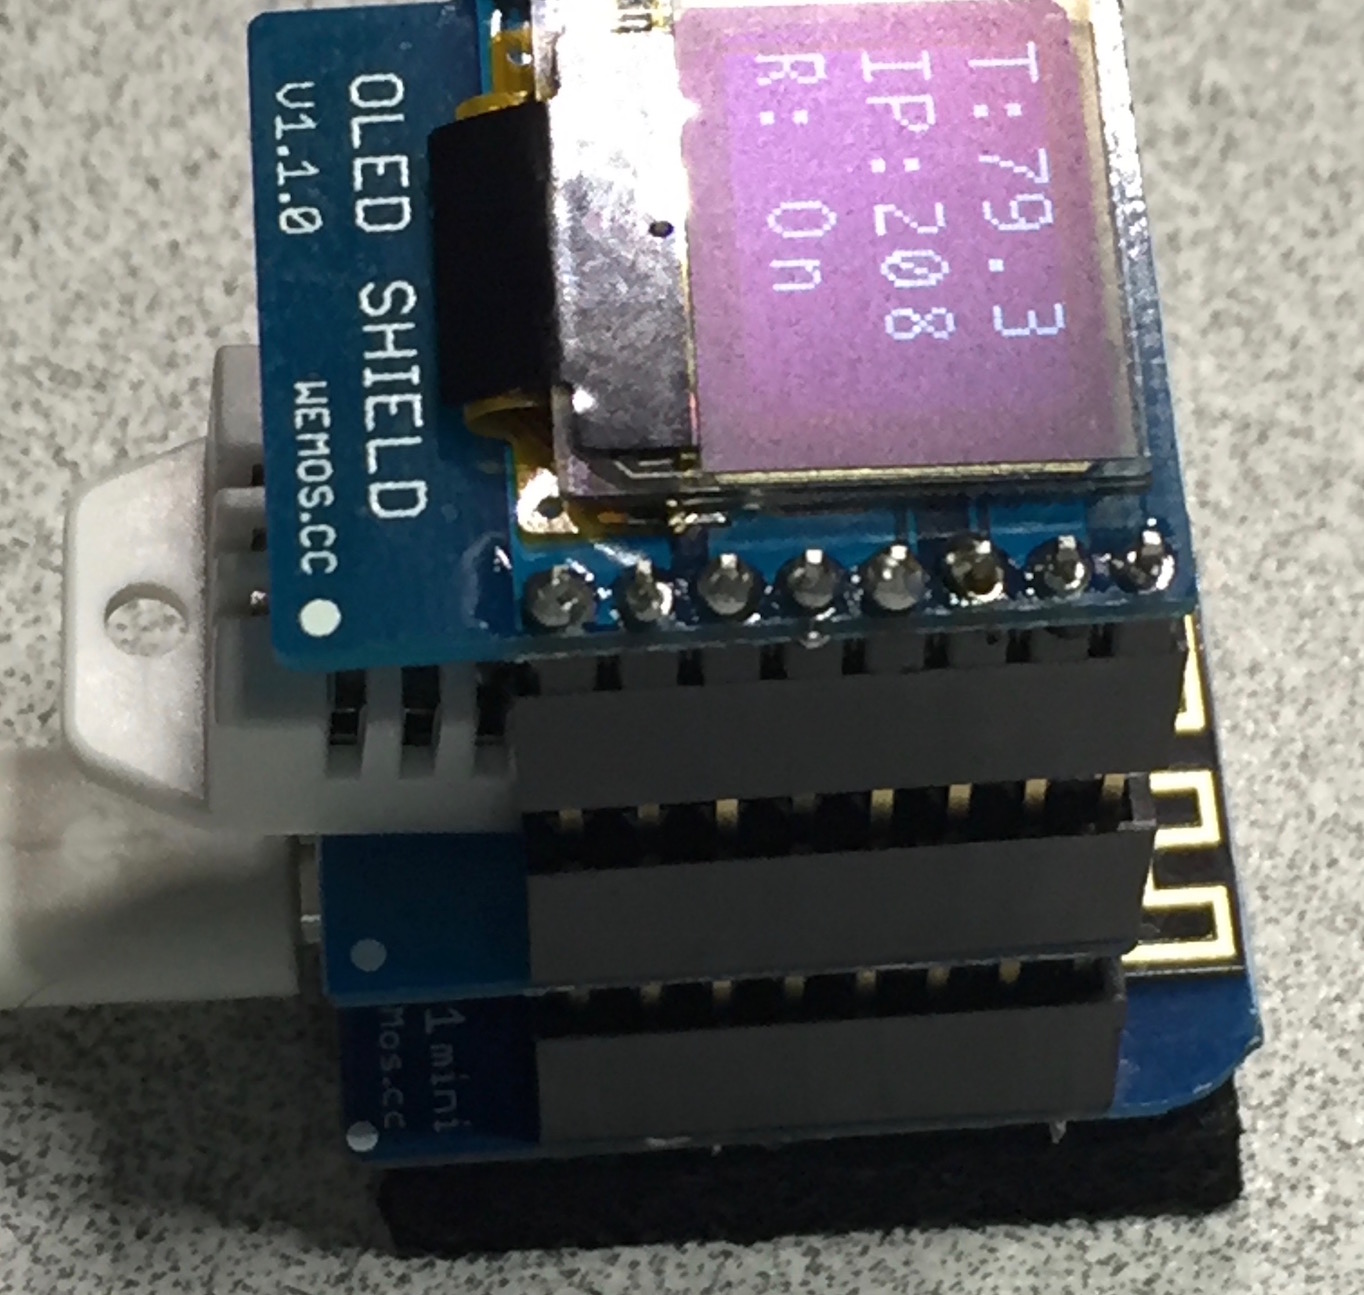
We were able to create a web server, that reads and displays Temperature (T), control a relay over the web (R) and have it display its IP number (within our subnet). HOWEVER, you can’t read temperature and control relay, in the same ‘stack’. So more parts are on order to deal with that minor complication.

IMG_8736The biggest issue was getting the OLED display to work. Seems there was an issue with one of the libraries;

http://stackoverflow.com/questions/36768562/wemos-oled-sparkfun-print-text-does-not-display

Just a matter of deleting two lines of code, and it worked. Course that took two days to find.

Being a true believer in scattering projects over over the place, wireless would be great. But as always, there is the matter of POWER. If I have to run power, I can run an ethernet cable.

Outdoor Sensor Array


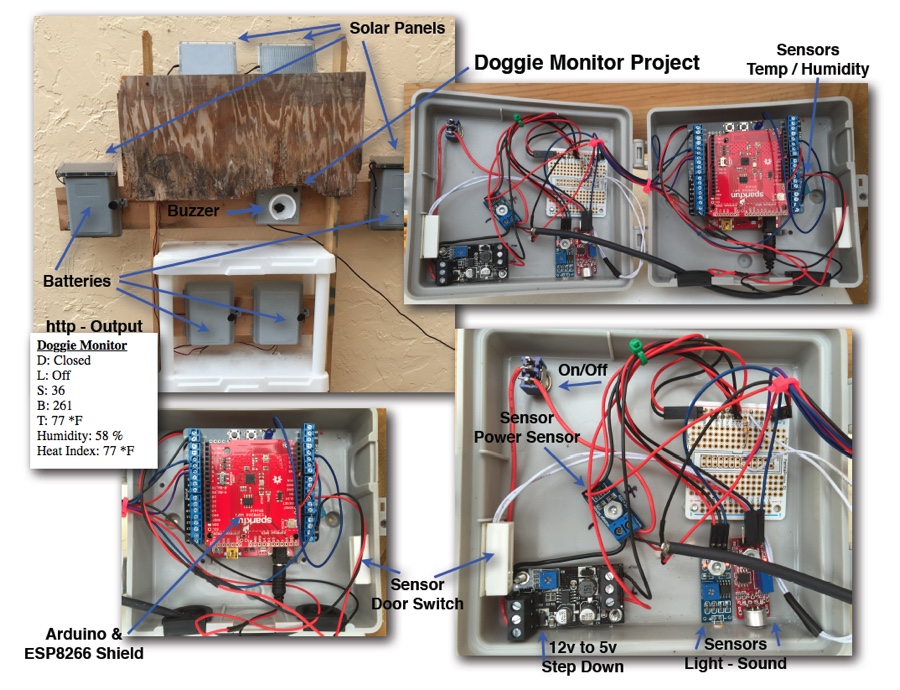
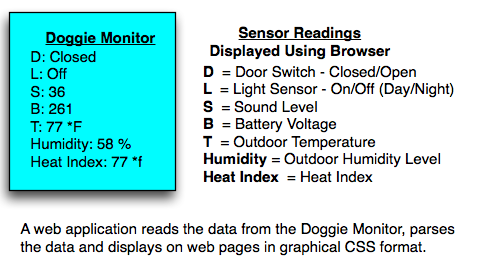
How many sensors can we plug into one Arduino and setup outdoors? This is how many I was able to cram into one Project Box.

The system uses a ESP8266 Wifi / Arduino Card with a screw terminal Shield. — I attempted to run it all with two 12 volt solar panels with a solar charger. Didn’t have enough juice, so ended up just plugging into outlet located outside.

Hardware

Screenshot 2016-03-06 12.32.51


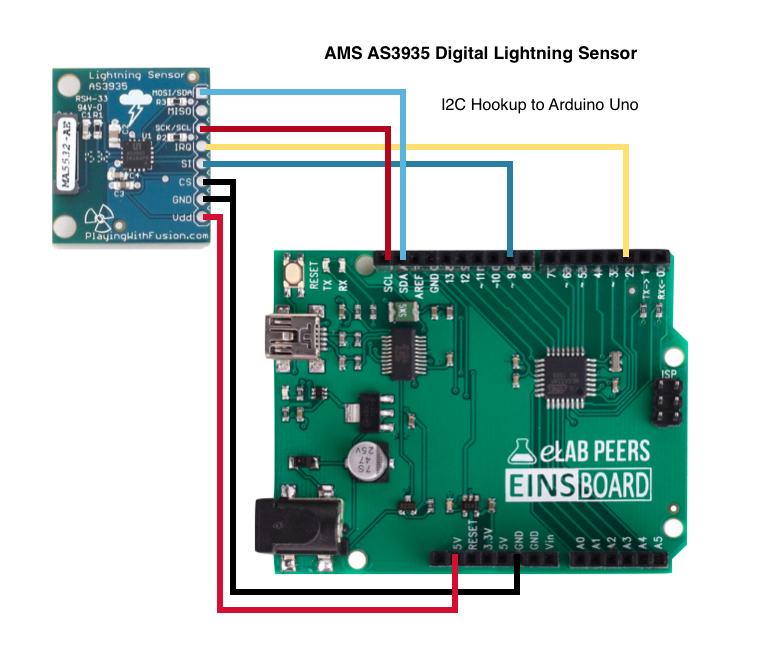
Lightning Detector using an Arduino

Screenshot 2016-05-21 20.14.26Been wanting to get this to working for years. Finally took the time to hookup and try it out.! Worked first time (once I got the wiring correct).

Now have to wait for a spring storm to test (sigh).

Updated layout, and tested. Sensor allows for a 40 miles distance detection of Lightning or related electrical noise for an approaching storm.

UPDATE:  Spent the afternoon tracking storms across South Florida. System reported Kilometers, which I added a conversion to American Standard Miles. Worked very nicely.


Atlas 3D Scanner – Kickstarter and Kit

Looking though Kickstarter I found a guy building a 3d scanner, that was printable, and had an option that included all the hardware  (motors, laser, etc). You just had to print the parts and assemble.

And of course, you have noticed I haven’t had any luck with my Solidoodle 3d printer, so the kit has just been sitting. UNTIL they started selling laser cut kits. Bought one on the spot.

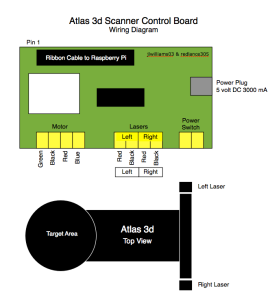
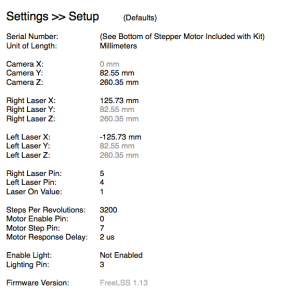
My stepson and built it over a long weekend, but couldn’t get it to align. So I did some surfing and never got a correct answer, until I found SoliForum. Found some real helpful people and I was able to piece together the problems.

Atlas3dComplete           Settings

Quirky – Wink Home Automation

Wanting to get my feet wet with HomeKit I started looking into newer home automation equipment. Finding Quirky items cheaper on eBay I decided to give them a try.

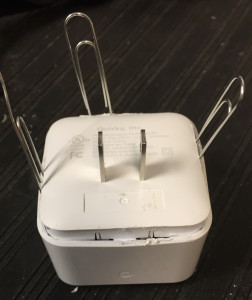
First, gotta open one. This is a Quirky Plink-Hub1, a second generation less hackable version of their Hub.
IMG_3043

I was able to pry open and stick paper clips in to keep the case open long enough to remove guts.
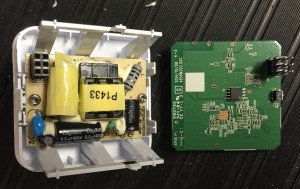
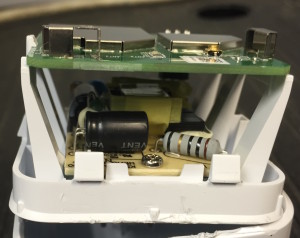
IMG_3048

IMG_3045 IMG_3050

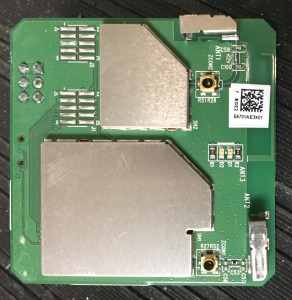
This is what it looked like inside. Very clean, power supply on one board, wifi and wireless on second.

The big down side is that the Quirky Wink automation system is made to be controlled by a phone, not a computer. At least not in Yosemite.

We were able to create some applescripts which react to emails sent from the Wink Robots. From there I was able to update a web page. So all and all not all that bad. Yes far from what I wanted, but for the cost I can’t complain.

We also installed a few GE LED lights, which are very limited in usage. Limited by the software. So hopefully HomeKit allows more features at a later date. (also get these really cheap off eBay).

There is a Pivot Power Genius, power strip (with two controllable outlets [not very functional/features]) , Spotter (multi-sensor unit [VERY FUN and useful]), Porkfolio (Piggy Bank, [which we never got to work after many hours of work]) and of course the GE LED bulbs.

There is also Nimbus, a desktop digital display. Very easy to setup, but very limited on what can be displayed. If you can find it cheap it is fun, but not worth the $50 asking price (think we paid less than $20). Would like more control over what can be display, say something we send it.

The system also works very well with DropCams. We normally use Network cameras, but wanted to give it a try. We purchased a few DropCam HD units, which we are very happy with. On doing more research the PRO costs almost $100 more, and requires a yearly subscription. We will stick with the HD.

We are awaiting a Insteon Hub and automation kit to try as well.

UPDATE (07/18/2015 #1):

After using Wink and its assorted hardware for over a month, I can not recommend this system.

Wrote tech support for help hooking up Porkfolilo, problems with getting second Nimbus working and issues with second Spotter. All I got back was a canned reply, that wasn’t helpful at all. – Will a second hub help, does Wink support Second hub, does it increase coverage area? (they didn’t bother to address any of that).

The hub has ‘disconnect’ and I can no longer communicate with lights, nimbus or anything else that was working. And I am unable to add new devices. Wink must have built in limit… Or it could be interference or wifi noise, whatever, the system isn’t working.

I’ll continue to play with the system as time allows and see if I can get something working.

Update (07/18/2015 #2):

Played with Quarky, Wink a little today. Notice my hub was off-line.. Reinstall/configured, yeah. Then! WHAT? None of my devices are listed, no lights, Numbis, Spotters or Pivots, all gone. Meaning they all have to be reconfigured. So if you were thinking of using this system in a vacation home, DO NOT DO IT!


Teensy

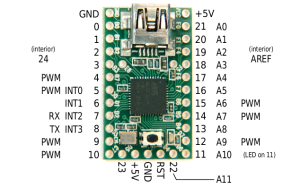
Since the clerks at work do me a lot of favors I wanted to something nice for them. Build a desktop flower, controlled either by the computer or sensors in the flower or flower pot. For this I looked into the Teensy 2.0, costing less than $15, it is with our companies restriction on gift prices ($25).

Basically  the Teensy, is a tiny Arduino. Easy to program and wire into projects. Allowing for smart projects.

31BB9691-224E-40AF-A067-3A067CABABE1

PyConnect – Power Failures

Wow, been a busy month, almost non-stop.

However I am now able to catch up with projects I wanna do. One was fix an issue with PyConnect.

PyConnect is a great system to connect Plex Server to the families three AppleTV boxes. Long and short it changes the Trailers channel into your Plex Server Channel. And it is easy enough for everyone to use.

However when the power goes out (normal here during rainy season), the kids would have to wait till I get home and re-run the script. The script would asked for admin password. Not something I am willing to hand over to the kids yet.

So after some googling this is what I came up with:

set sshPasswd to “supergeek1”

try

tell application “Terminal”

quit

end tell

on error

end try

tell application “Terminal”

activate

my execCmd(“cd /Applications/PlexConnect-Master”, 1)

my execCmd(“set timeout 30”, 1)

my execCmd(“expect -c ‘spawn sudo ./PlexConnect.py; expect \”*?assword:*\”; send \”&sshPassword&\”; interact’;”, 1)

end tell

on execCmd(cmd, pause)

tell application “System Events”

tell application process “Terminal”

set frontmost totrue

keystroke cmd

keystroke return

end tell

end tell

delay pause

           end execCmd

This was written in Applescript, saved as an Application bundle, and added to the startup items. Noticed if I didn’t quit terminal first, all the system would do is make a few clicking noises and pyconnect wouldn’t start.

It also has the added bonus of not displaying the password, and you still get the terminal activity window to monitor usage.

Not bad for an afternoon’s playing.

Enjoy

~David

Raspberry Pi and Cron

After two days of attempting to get Cron to execute tasks (in this case shell scripts) on a Raspberry PI, I finally got it working.

I must have read at least three dozen sites and all my Raspberry Pi books in my attempts, nothing work..

Here are some of the suggestions I found.

This one states it will edit the users cron file:

pi@raspberry ~ $ crontab -e

This one states it will display all the users schedule cron tasks:

pi@raspberry ~ $ crontab -l

I did find these useful:

pi@raspberry ~ $ /etc/init.d/cron stop

pi@raspberry ~ $ /etc/init.d/cron start

pi@raspberry ~ $  /etc/init.d/cron restart

But none triggered my script to run, then in my notes, from a past project I found:

pi@raspberry ~ $  sudo nano /etc/crontab 

This allowed me to edit the system cron task list..

———————————————–

# /etc/crontab: system-wide crontab

# Unlike any other crontab you don’t have to run the `crontab’

# command to install the new version when you edit this file

# and files in /etc/cron.d. These files also have username fields,

# that none of the other crontabs do.

SHELL=/bin/sh

PATH=/usr/local/sbin:/usr/local/bin:/sbin:/bin:/usr/sbin:/usr/bin

# m h dom mon dow user  command

17 *    * * *   root    cd / && run-parts –report /etc/cron.hourly

25 6    * * *   root    test -x /usr/sbin/anacron || ( cd / && run-parts –repo$

47 6    * * 7   root    test -x /usr/sbin/anacron || ( cd / && run-parts –repo$

52 6    1 * *   root    test -x /usr/sbin/anacron || ( cd / && run-parts –repo$

10 * * * * pi cd /home/pi && ./jabberfix.sh

#

———————————————–

The last task, which runs at 10 minutes after the hour, for user pi, fixes my jabber connection.

Honestly, I have no clue what the other tasks are doing. More research! But I am very happy I now know how to add my own tasks to cron.

Enjoy

~David